How to Prepare for the Motorcycle Season
Editor’s note: This article was updated for the 2026 riding season to reflect current maintenance and gear recommendations.
Getting ready for the motorcycle season is a rite of spring, a time to shake off winter’s chill and get back on the road. A little preparation now ensures a season of uninterrupted sport touring adventure.
The best rides are the ones you finish. A small investment in pre-season service adds up to more good rides.
This guide was crafted to inspire riders to get their bikes and gear in good working order for the season ahead. It provides in-depth guidance beyond the routine pre-ride MSF T-CLOCS checklist (tires, controls, lights, oil, chassis, and stands) covering broader maintenance, inspection, gear, and planning steps.
Click to download the maintenance checklist!
Start with a Visual Inspection
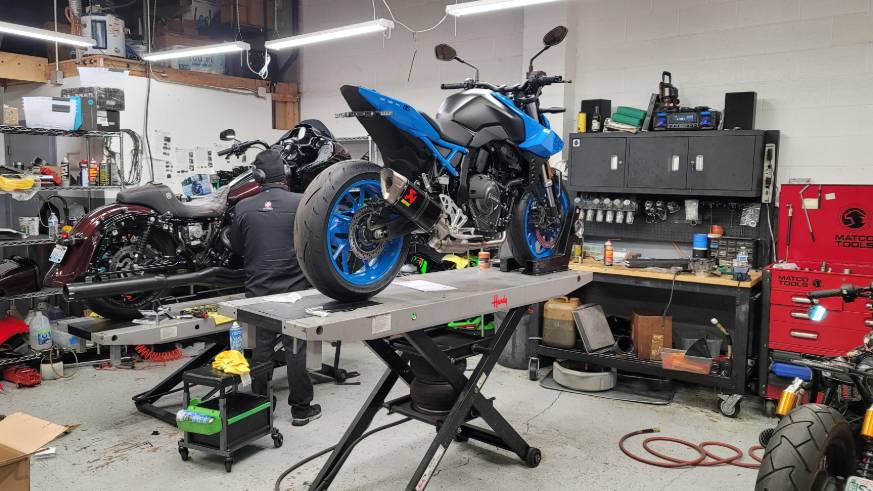
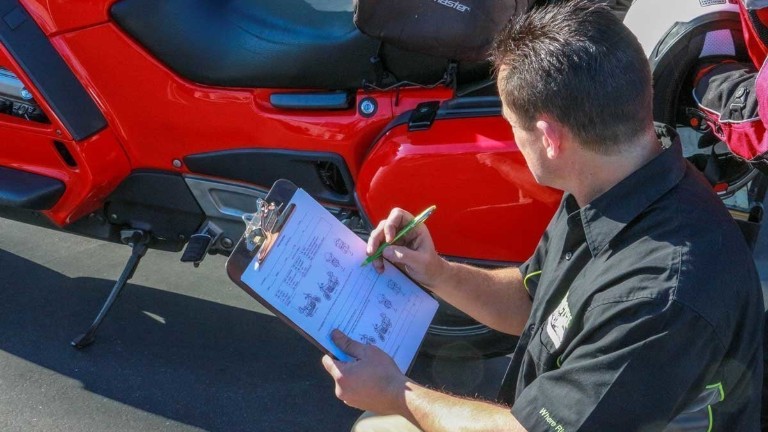
A thorough pre-ride check is good practice before every ride, but it’s especially important at the start of the season. Begin with a deep clean. A freshly washed bike makes it easier to spot any issues. Then inspect your motorcycle area by area, taking note of anything that needs attention.
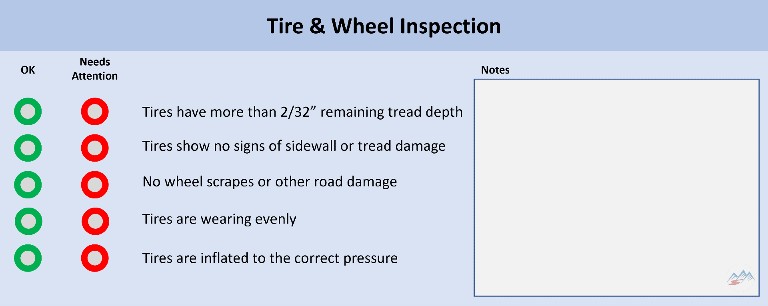
Inspect Tires and Wheels
Tires and wheels are fundamental for predictable handling and safety, so close inspection is a must.
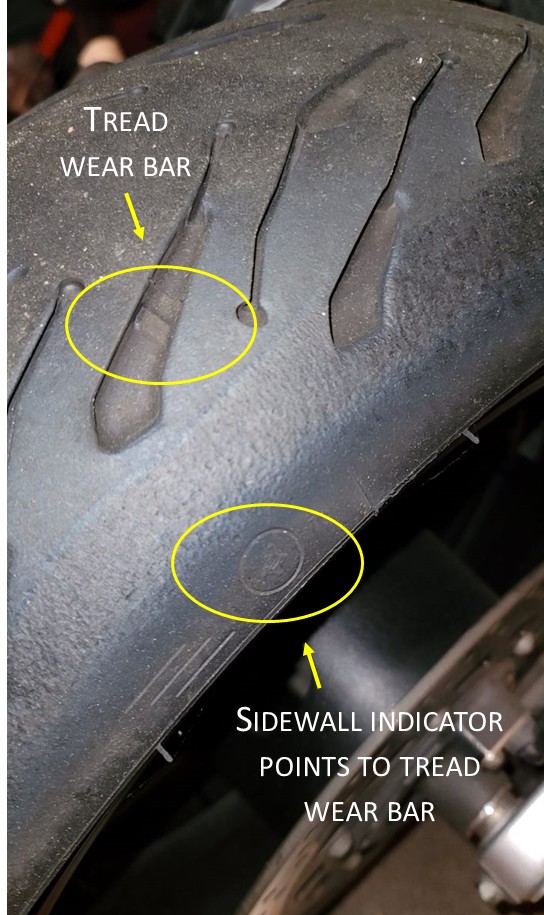
Check tires for cracks, cuts, or other visible damage on the sidewalls and tread. Look at the wear bars molded into the tread, if they are flush with the surface, you have less than 2/32” of remaining tread and it’s time for new tires.
Also remember that tires can age out before they wear out. A bike that sat for long periods may still have plenty of tread, but old rubber can harden and lose grip.
Next, inspect the wheels for any scrapes or dents that can cause handling issues or lead to a tire becoming unseated. If tread wear looks uneven, for example abnormally worn on one side, it may indicate a suspension alignment issue. If uneven wear is evident, have the motorcycle checked by a professional.
And finally, ensure both tires are inflated properly according to your motorcycle specifications and adjusted for your riding style (see Find the Best Tire Pressure for Your Motorcycle)
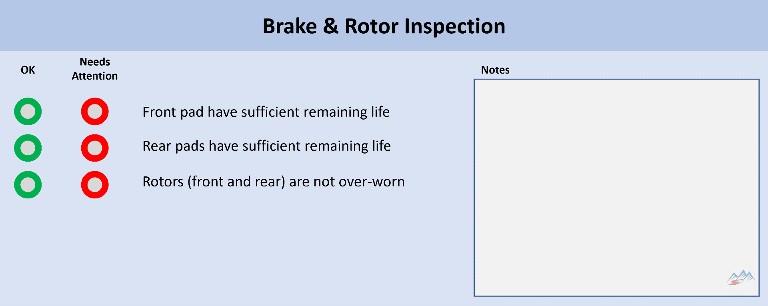
Look for Worn Brake Pads and Rotors
Reliable brakes are your best insurance for a safe ride. Experienced riders often say you can’t go fast without good brakes. Don’t take yours for granted.
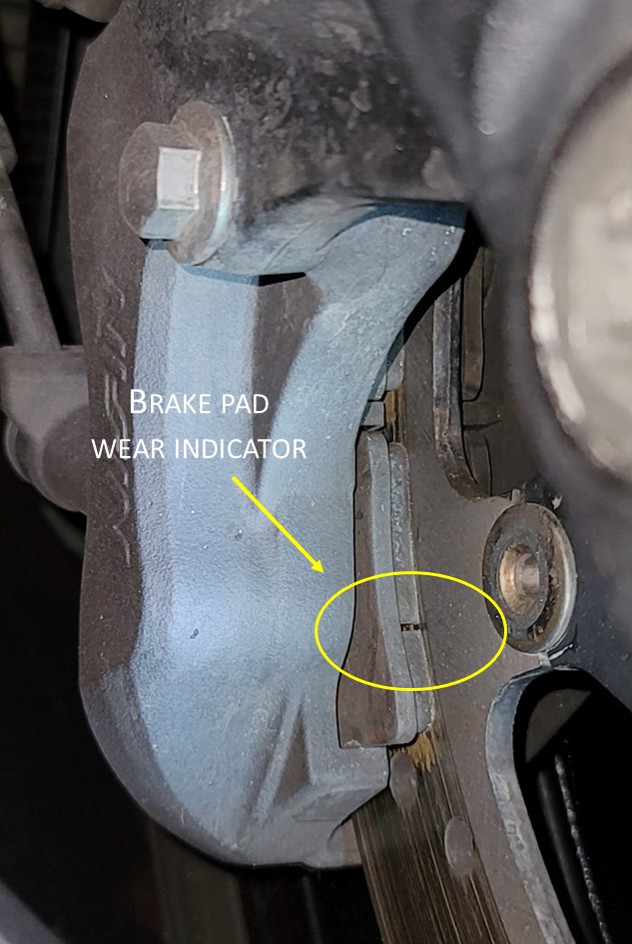
Start with the brake pads. Most have built-in wear indicators visible at the edge of the pad between the caliper and rotor. If the indicator groove is gone or barely visible, there’s less than 2mm of brake material left, and it’s time to replace the pads.
Unlike pads, brake rotors do not have simple go/no-go wear indicators. Look for a noticeable ridge at the outer edge, scoring on the braking surface, cracks, blue discoloration from overheating, or signs of warping. A pronounced ridge can indicate wear, but the real standard is rotor thickness. Check the minimum thickness stamped on the rotor or listed in the service manual. If the rotor is at or below that limit, replace it. When it comes to brakes, if in doubt, have a mechanic inspect them.
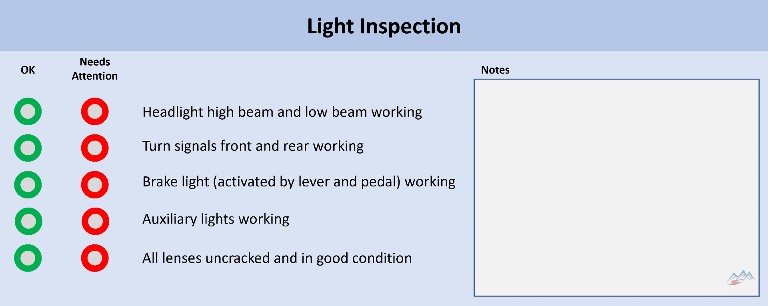
Make Sure All Lights are Working
A quick check of front, rear, and side-marker lights ensures you’re visible on the road and compliant with the law.
Start by testing that the headlight low beam and high beam are both working. Then try the turn signals. Check that front and rear indicators work properly. And of course, check your brake light. Test with the lever and with the foot pedal separately.
Finally, if your bike is equipped with aftermarket driving lights, make sure they are working. And of course, check the lens on all of your lights for any cracks or damage that could let moisture inside and cause fogging.
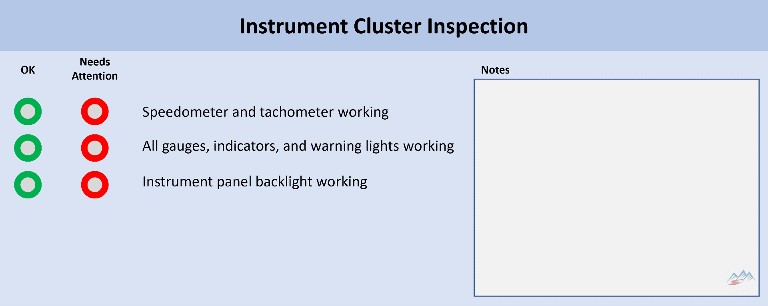
Check The Instrument Panel
A fully working collection of gauges and warning lights provide essential information and early warning when things go wrong. Modern motorcycles perform a self-test when they start up, but it is still worth inspecting your instrument panel.
When you switch on the ignition, critical warning lights should illuminate briefly, then turn off. Some, like ABS or traction control, may stay on until the motorcycle reaches a set speed. If a warning light does not come on, or stays on when it shouldn’t, troubleshooting is required. Analog gauges, often the tachometer, should cycle through its range at startup to confirm it is functioning correctly.
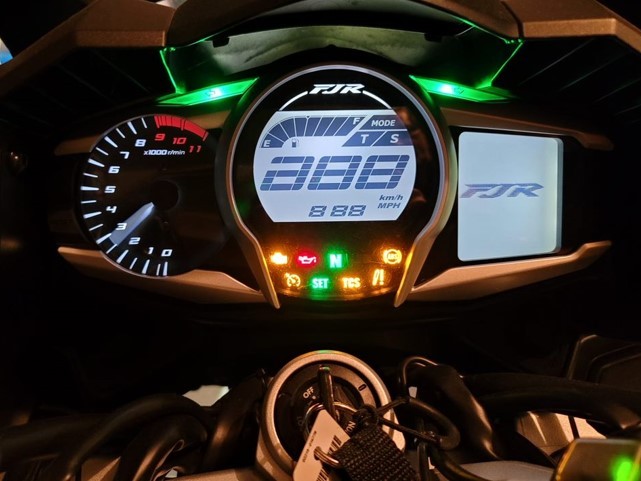
Don’t forget to check the instrument panel backlighting, something you might not notice is broken until you find yourself riding after dark.
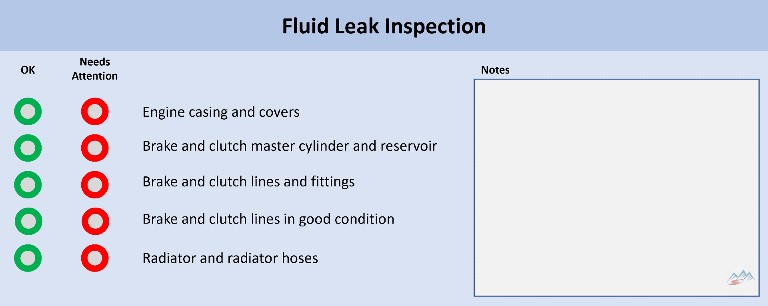
Look for Fluid Leaks
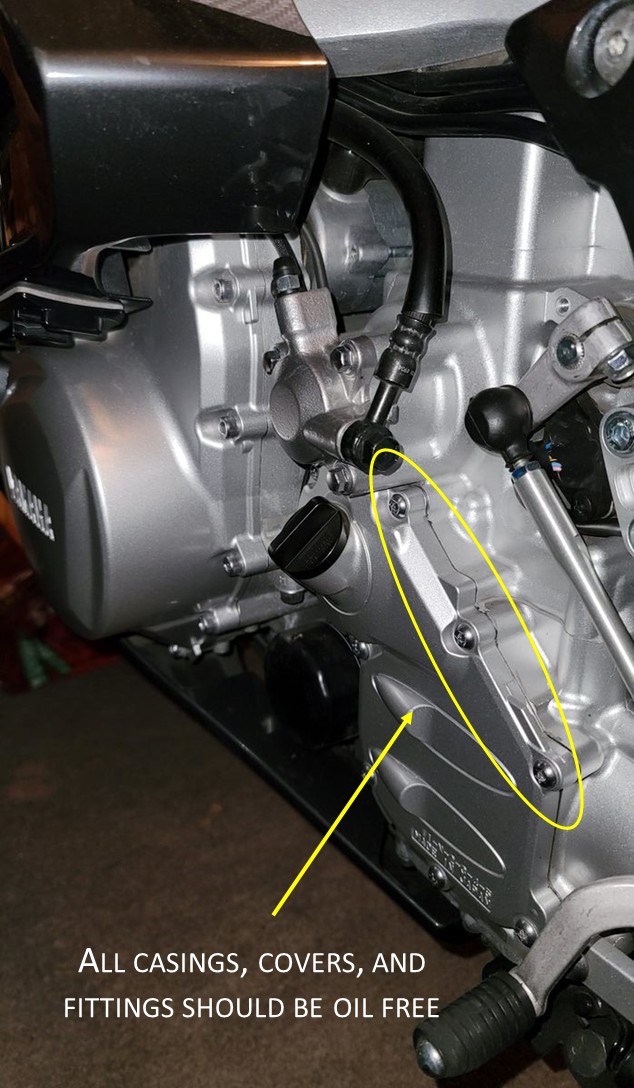
Fluid leaks are often obvious and sometimes nearly impossible to spot. A clean engine and drive train without accumulated grease and dirt makes it easier to look for leaks.
Inspect seams around engine covers. Some oil seepage is normal on high-mileage engines as gaskets age, but a wet oily surface may point to a more serious problem that merits follow-up with a mechanic.
Check the brake and clutch master cylinders for leaks or seeping fluids as well. Follow the hydraulic lines to the front and rear calipers and clutch assembly, looking for leaks or worn spots along the way. Repair or replace any leaking connections or worn hoses.
Checking coolant level can be tricky because radiators and hoses are often hidden behind fairings. If possible, use a flashlight to check the coolant reservoir and if unavoidable remove obstructing bodywork to get a closer look.
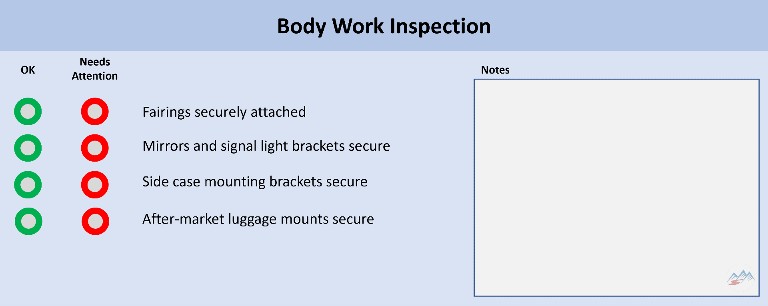
Inspect the Bodywork
A loose fastener or damaged fairing might not seem like a big deal, until it is.
Ensure fairings, fenders, and mirrors are securely attached and that no screws or pop-rivets are missing. Check that side case mounting brackets and latches are secure. Do the same for aftermarket luggage like a top box, tail bag, or tank bag to prevent weight from shifting unexpectedly on a ride. If your bike carries accessories such as a phone mount, GPS cradle, USB charger, heated-gear lead, radar unit, or auxiliary lights, inspect those mounts and wiring as well.
Perform Scheduled Maintenance
Now that the visual inspection is complete, and any concerns noted, it’s time to do some actual maintenance.
Performing regular motorcycle checks and adjustments according to manufacturer recommendations is the easiest way to get the most miles from your motorcycle. Regular service ensures reliable operation and avoids more costly repairs down the road.
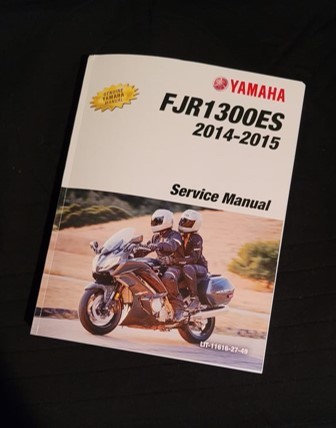
Service recommendations are well described in the owner’s manual. However, an official shop service manual contains much more detailed information describing how to perform regular maintenance tasks and other advanced repairs. Shop manuals from aftermarket sources such as Haynes are reasonably priced and accurate, while OEM manuals, when available, are authoritative but more expensive.
Some service procedures are straightforward, however others, even with the help of a shop manual, are best performed by a trained technician. Which is why we prefer to have a professional mechanic handle scheduled factory service leaving us to do what we enjoy most – worry-free riding.
The following are generally recommended maintenance procedures to perform at the beginning of the riding season. Check your owner’s manual for anything specific to your motorcycle.
- Oil and filter change.
- Review interval-based service items such as spark plugs, air filter, valve inspection, and fuel-system service according to the owner’s manual.
- Inspect brake and clutch fluid levels and lines. Replace hoses that show cracks or fittings that leak. Top up fluids as needed, and bleed the system if fluid was very low or if lever feel is spongy.
- Check the battery and charging system. Fully charge the battery before the first ride, inspect the terminals for corrosion or looseness, and confirm that the starter turns the engine over strongly. If the bike sat unused for weeks or months, connect a smart maintainer and verify that charging voltage is normal once the bike is running.
- Lubricate the drive system. Clean, lubricate, and adjust the chain, or, for shaft-driven motorcycles, check final-drive gear oil and replace it at the recommended service interval.
- Lubricate all bearings, including swing arm, suspension pivot points, and steering head and fork.
Performing service at the recommended mileage may be inconvenient, time consuming, and even costly, but it all pays off in confidence and peace of mind on the open road.
Update Electronics
In today’s world, not all maintenance is done with wrenches and screwdrivers. Onboard electronics and accessories require regular software updates. If your motorcycle has electronic instrumentation and connects with other devices like a mobile phone, then odds are periodic software updates are required. Your owner’s manual will explain how to check for updates and how to install them when available.
Don’t forget to check for mobile app updates as well. That’s particularly important to keep navigation and communications devices working reliably.
Stand-alone GPS devices need regular map and firmware updates. Current devices, for example the Garmin zūmo XT3, make map, firmware, and feature updates a routine part of ownership. Install updates over Wi-Fi and, while you are at it, update any companion apps that support the device.
Anyone using a Sena or Cardo communicator should also check for firmware updates. These companies regularly release firmware to fix bugs, improve connectivity, and refine device performance. Cardo supports updates through its update tools and app ecosystem, while Sena continues to provide updates through Sena Device Manager. After updating, confirm that your pairings still work as expected.
Oh, and double check that your Bluetooth pairings are still intact. Few things are more frustrating than fiddling with configurations at the start of a ride.

Check Your Riding Gear
Now that your motorcycle is in shape, take a look at your gear. Start by simply trying everything on to make sure everything fits correctly. Jackets should be snug but not so tight as to prevent upper body movement. Boots should have firm ankle protection, flexible forward movement, and of course no worn spots that might compromise weather protection. Same for gloves and pants, no weak points due to wear and no restricted movement.
Helmets deserve special attention. Many manufacturers recommend replacement after about five years of use, and even sooner if the helmet has been dropped hard, damaged, or involved in a crash. Comfort liners, adhesives, and energy-managing materials can all degrade with age and exposure. If you are shopping for a replacement helmet in 2026, you will commonly see current DOT-compliant models carrying ECE 22.06 certification, and some will also meet newer Snell standards depending on the helmet’s purpose and design. Look for the date of manufacture under the liner, often above the left ear.
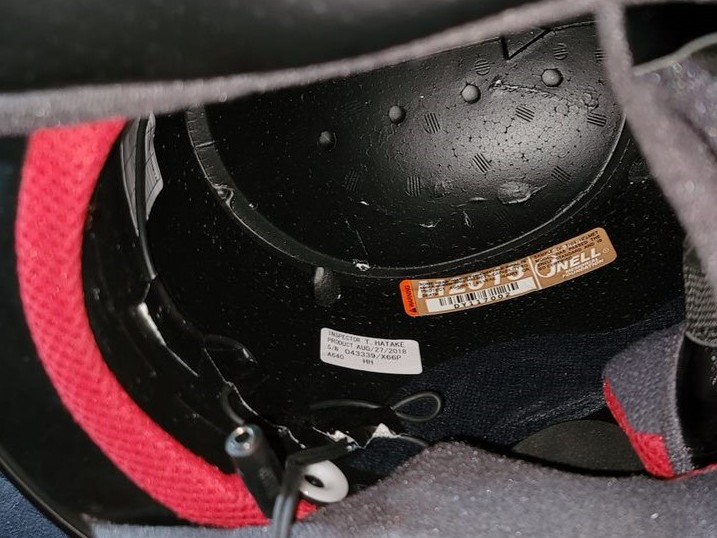
A helmet that has suffered a hard drop, or worse been in a crash, should be replaced regardless of age. Keep in mind that not all damage is visible. A dropped helmet may have hidden cracks that can weaken the shell and reduce the effectiveness of the helmet when it matters most.
Ready to Ride!
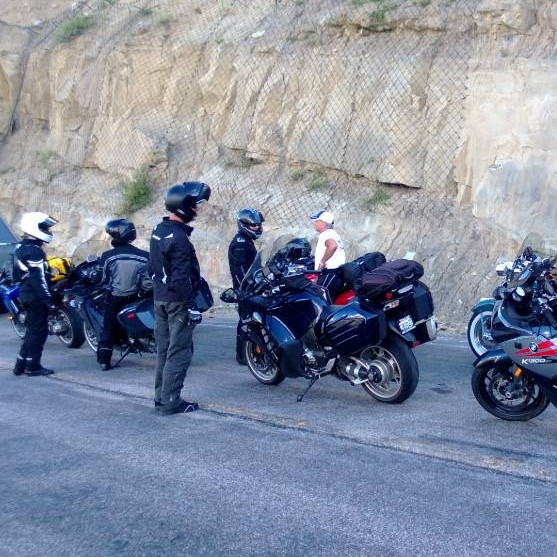
That’s it, with inspections, maintenance, and repairs complete you are ready to ride. Take a few break-in rides and practice any skills that feel rusty. Don’t overlook physical conditioning. Find ideas to get ride-ready in the article Ride Fit Ride Better.
All that’s left now is to lay out a few ride plans. Check out all of the American Sport Touring Destinations and Tour Plans for ideas.
Did you like this article?
Thank you for your feedback!
Please email the editor with any additional comments.
Your feedback is used only by American Sport Touring. We do not store or sell your information.
Please read our Privacy Policy.
by Staff Writers
The American Sport Touring writing team represents a diverse group of passionate sport touring motorcycle riders and industry experts dedicated to delivering insightful, well-researched content. Our contributors, both within the organization and guest writers, bring deep firsthand experience with sport touring motorcycles, gear and accessories, and destination discovery and route planning. No matter the assignment, each upholds the American Sport Touring commitment to high-quality, informative, and trustworthy content.