How to Repair a Motorcycle Flat Tire
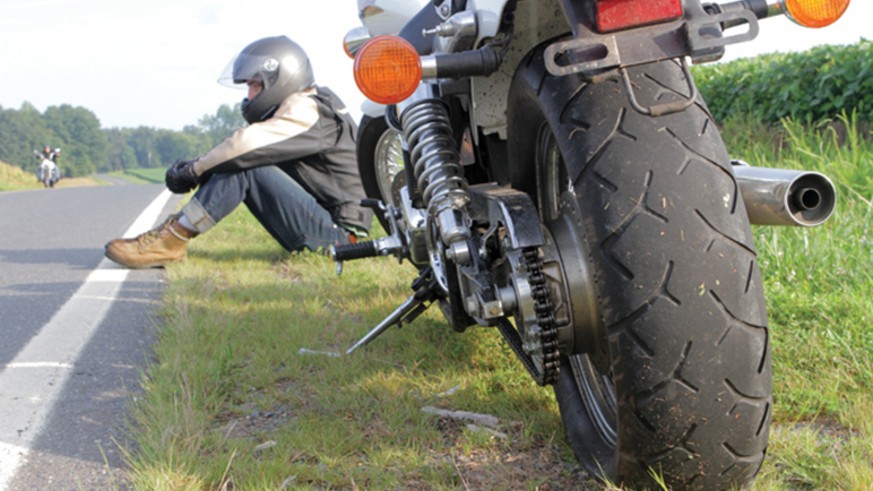
Few things are as disappointing and frustrating in the middle of a ride as a flat tire. Fortunately, motorcycle tires are well designed and don’t seem to experience flats all that often when measured against miles travelled. Nevertheless, flats happen. And they often leave a rider stranded far from services. That’s why carrying a repair kit and knowing how to safely use it are important considerations for any sport touring rider.
Before jumping in, it’s important to note that most tire repair kits are designed for tubeless tires. For the most part, that’s not a problem since virtually all modern sport touring motorcycles run on tubeless tires. Kits are available for tubed tires, but we’re not going to cover them in this article.
Selecting a Repair Kit
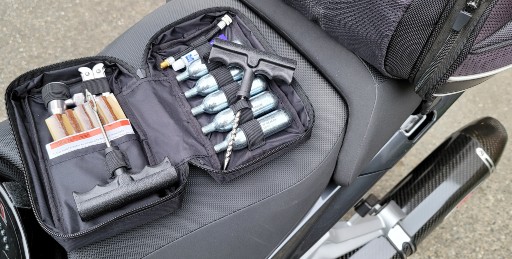
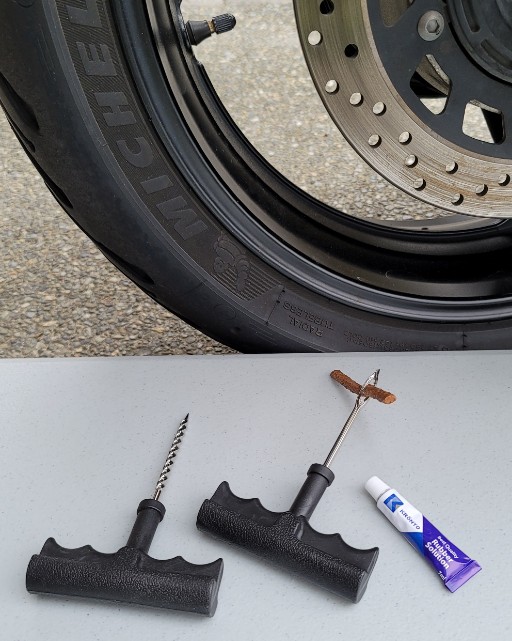
Tire repair kits generally include four essential parts: a hole reamer, a string plug insertion tool; string plugs; and some form of compressed air to reinflate the tire. These tools, used pretty much in that order, represent the basic repair steps. The quality of each tool and the number of helpful tools differentiate one kit from another.
Let’s start with the hole reamer and string plug insertion tool. These tools use a t-handle for better grip to drive into and pull from the tire. Motorcycle tires are made up of multiple layers of rubber that not surprisingly are hard to punch through even when there’s an existing hole. For most of us, the t-handle is essential.
The string plug material is typically some form of fiber reinforced rubber shaped into strands each about three inches long. One insert is good for one repair. A typical kit includes a half-dozen inserts. You may want to throw a pair of disposable food prep gloves in your repair kit because the inserts are waxy and somewhat sticky, both of which help make inserting the plug easier and ensures it stays put.
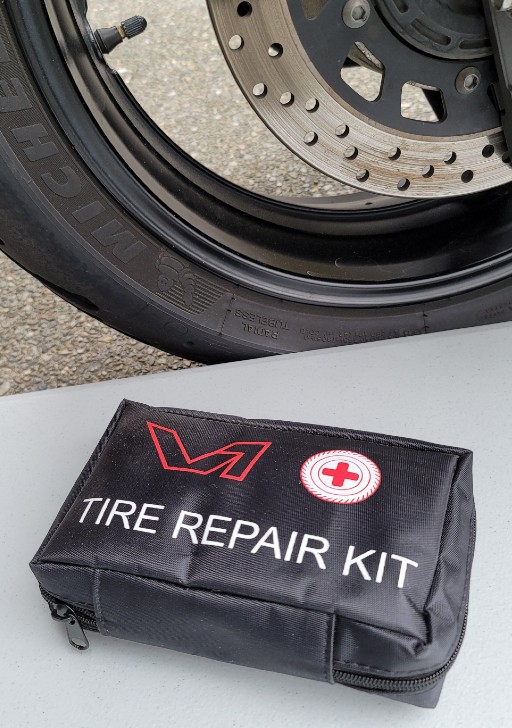
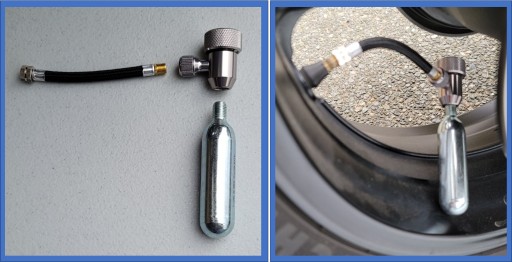
The last essential tool is some means to reinflate the tire. The most convenient option is a few Co2 cartridges with a short extension hose to connect them to the tire valve. A general rule of thumb is to expect between 4 and 5 PSI per 16 gram Co2 cartridge. In practical terms, that means it takes about 6 cartridges to inflate an empty rear tire on a typical sport touring motorcycle (180/55ZR17) to a level sufficient to limp-in for proper servicing. Now of course if the patch is made without letting much air escape then fewer cartridges are needed.
A few more tools will help make repairs faster and easier. Start with a multi-tool that includes pliers and snippers or a knife blade. The pliers are useful to remove the screw or nail that punctured the tire in the first place and the snippers are good for trimming remnants of the string plug. Some kits include glue which may help make inserting the plug a little easier and help improve the seal once dry.
Making a Safe Roadside Repair
Performing a roadside repair starts with ensuring you and your motorcycle are in a safe location, out of traffic, and on stable ground. If not, better to ride or push the bike to a more suitable location. Look for a level surface that helps keep the bike securely on its stand and allows a little extra room to move around. Making the repair will rock the bike a bit so this is important.
At this point, it’s best to review and follow the instructions included with the repair kit. The general steps outlined here will give you an idea of what to expect, but specific details depend on the tools that come in your kit.
First locate the puncture by inspecting the tire carefully. Often the cause of the puncture will still be in the tire. Sometimes not. In the case that you can’t find the puncture you may need to wet the tire, section by section, and look for air bubbles. Mark the location of the puncture.
Get everything needed to patch the hole ready upfront. Have your tools lined up, put a string plug in the insertion tool, have the cement ready if included in your kit. The faster the plug goes in after the object is removed the less air is lost and the fewer Co2 cartridges are needed to reinflate the tire.
Use the multi-tool pliers to remove the object that caused the puncture. Be ready to immediately grab the reamer tool and cleanout the puncture hole. Assuming the tire is not entirely flat, air will begin whistling from the tire when the reaming tool is removed. Quickly insert the string plug to keep as much air in the tire as possible. Use the multi-tool snipper or blade to cut off any excess string material to minimize unsettling the plug when riding. Finally, reinflate the tire using as many Co2 cartridges as needed to ride safely to a service location.
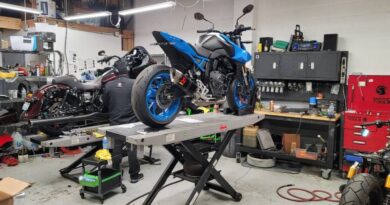
Now that the tire is patched and inflated to at least a level for a safe ride, head to the nearest tire service location. String plugs are designed to get you to service, not as a permanent repair.
In Short Be Prepared
A flat tire is frustrating and has the potential to completely ruin your ride. The sad reality is that those who ride often and long enough are bound to experience one sooner or later. Repair kits are inexpensive and compact enough to easily pack along. Consider it cheap insurance and worth every penny in added security and confidence on long rides through sparsely populated country.

For more on setting the optimal tire pressure for your riding style read Find the Best Tire Pressure For Your Motorcycle. And for help choosing a tire gauge, an essential tool in every rider’s kit, read How to Pick the Right Tire Gauge.
Share Your Thoughts
Thank you for your feedback!
Please email the editor with any additional comments.
Your feedback is used only by American Sport Touring. We do not store or sell your information.
Please read our Privacy Policy.

by John DeVitis, Editor and Publisher
John DeVitis, Editor & Publisher of American Sport Touring, has spent years riding and writing with a focus on long-distance, performance-oriented motorcycling. His time on the road has revealed little-known routes across the United States and Canada, along with practical insights into the bikes, gear, and techniques that matter to sport touring riders. He draws on this experience, together with a background in digital publishing, to guide the editorial principles and clear vision behind American Sport Touring, delivering content riders can trust.